


You’ve bought that new and costly piece of equipment for your materials testing lab or to use on the construction site. Like buying an expensive car, this is a major investment, and you want to get years of service from it. So, when should you start thinking about routine and preventive maintenance to help ensure the longest service life of that unit?
How about the first day that new equipment arrives at your facility?
This blog post discusses Gilson Sieve Shakers and Gilson Testing Screens – both high-performance products that are prone to heavy use – and common-sense steps to take in-house to ensure continued performance. However, much of the information provided on preventive maintenance, also called predictive maintenance, can conceptually be applied to other materials testing or construction equipment as well.
Unpacking and setting up

This is the first step in extending the service life of your new sieve shaker or testing screen, and it’s important to do it right. Consider the following points:
- Read the product manual before you start uncrating and setting the unit up. Your new equipment comes with a manufacturer’s product manual. Product manuals for Gilson-manufactured equipment are also posted on the specific product web page or in our Product Manuals section of the Resource Center.
Product manuals contain important information such as safety instructions, how to properly uncrate and set up the piece of equipment, operating instructions, troubleshooting, maintenance and repair, and so on. Understand that faulty installation can result in the faulty operation of your new sieve shaker or testing screen.
- Gilson's extensive library of videos is another good resource for knowing how a certain piece of equipment operates. There are even videos that provide how-to tips for routine care, such as replacing the SS-15 Sieve Shaker Drive Belt or Main Shaft components, How Clean Test Sieves, and more. Be sure to check back often as the video selection continues to grow each month.
- Ask Gilson for help if you need it. Our Technical Support Team can help walk you through the process, answer questions, or otherwise provide informational assistance to get your new equipment up and running. You can contact one of our tech team members Monday through Friday via email at techsupport@gilsonco.com or by phoning (800) 444-1508, 8 a.m. to 5 p.m., Eastern Standard Time.
Safety First!
The National Safety Council reports that nearly 13,000 workers in the U.S. are injured on the job each day. It goes without saying that any electrically powered unit should always first be unplugged before assembling and installing, disassembling, cleaning, or repairing. Be sure that you have also read any precautions and statements about moving parts, protective guards, and so on in the product manual.
Know What Makes Your Equipment Run
Understand the structural components of that new piece of equipment. Knowing what makes the unit operate is going to factor into how you care for it. Does the machine contain more electronic and digital components, or is it mainly mechanical with motors and pumps? How you perform routine and preventive care is going to be different in each case. For instance:
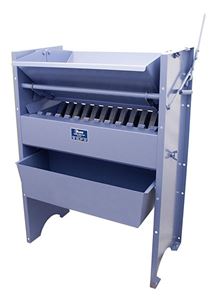
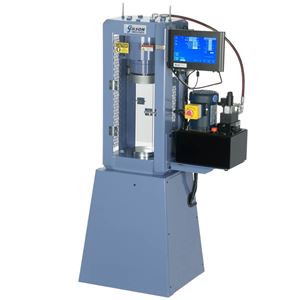
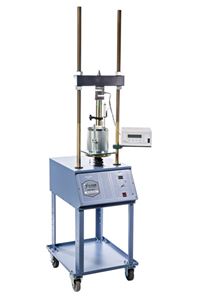
- Testing Screens are more mechanical, with operating components that include hydraulics, motors, drive and rod assemblies, motor oils, and more. The abrasive force of the samples tested can take its toll on the machine – and daily (rather than periodical) cleaning and lubrication of certain components can help prevent the onset of sudden problems.
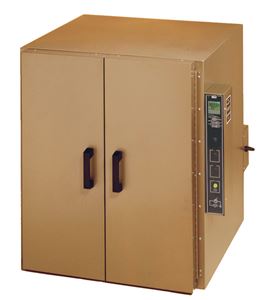
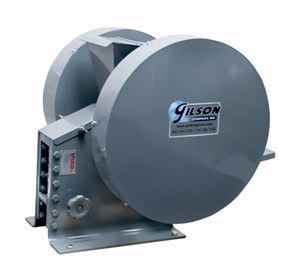
- For those Sieve Shakers with more electronic than mechanical parts, such as the SS-10 or GA-6/GA-8, a less forceful touch when cleaning and maintaining their components is required. They should also be kept as dust-free as possible. A gentle brush or light vacuum should be used periodically to clean the internal operating parts rather than forced or compressed air.
In addition to doing a regular visual inspection for cracks, leaks, loose wires or hardware, etc., the checklists below include common preventive care recommendations for Sieve Shakers and Testing Screens. The intervals shown are for machines under normal usage. Frequency should increase with heavier use. Refer to the operating manuals for specific recommendations.
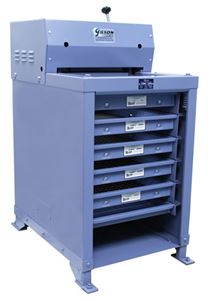
TESTING SCREENS | |
Task | Frequency |
√ Lubricate wrist pin assemblies | Daily |
√ Lubricate other parts | Monthly |
√ Check V-belt condition & alignment | Monthly |
√ Check clamp rod assembly for wear | Every six months |
√ Check/add/drain/replace hydraulic oil* | As needed |
√ Check the hydraulic pump for leaks | Every six months |
√ Inspect hydraulic cylinders | Every six months |
√ Check wire cloth & screen trays | Before each use |
*Replace with medium viscosity hydraulic oil such as Shell Tellus S2 or Mobil AW 32. | |
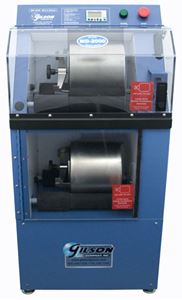
SIEVE SHAKERS | |
Task | Frequency |
√ Clean & Dust | Weekly |
√ Inspect/Lubricate bearings & bushings | Every six months |
√ Replace fuses | As needed |
√ Inspect mechanical components | Every six months |
√ Inspect belt condition & alignment | Every six months |
Be Proactive Instead of Reactive
Don’t wait until a product warranty has ended before you initiate a preventive maintenance plan. Again, refer to the product manual for information and recommendations on routine inspections, repairs, and replacement parts. It’s also important to do your research when considering an aftermarket/fabricated replacement part over an original equipment manufacturer (OEM) replacement part.
There can be numerous benefits from creating and implementing a preventive maintenance and care plan for your new or existing pieces of equipment. These benefits can include the following:
- Protecting your investment
- Extending the service life of the unit
- Preventing downtime
- Avoiding costly emergency repairs = saving money
- Continued productivity
- Getting the job done on time
Create the Preventive Maintenance Plan – and Stick to It!
The first step should be to identify and create a list of those equipment pieces that you want to be included in the preventive maintenance plan. Whether you have an in-house staff person or an external service technician coming in to handle your preventive maintenance, having that list in place from the start is key to a well-functioning plan.
In addition to the maintenance and care recommendations listed in the manufacturer’s Product Manual, develop a preventive maintenance plan designed for the specific piece(s) of equipment. Determine which structural and mechanical components should have a regularly scheduled inspection and review, how often this inspection and review should be conducted, and who is responsible for doing it.
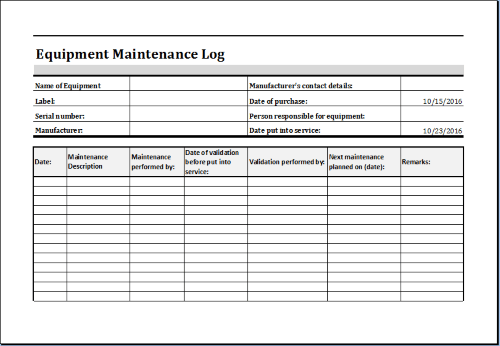
Maintain an Equipment Maintenance Log
Whether in document form or a preventive maintenance software program with numerous scheduling, reminding, and tracking features, the Equipment Maintenance Log should be updated with each equipment check. There are many free or inexpensive templates and spreadsheets available online, such as the Excel template shown below.
Developing your preventive maintenance plan doesn’t have to be a cumbersome process. Research the Internet for additional information – and take bits and pieces from different sites to create a preventive maintenance plan that works for you. Preventative maintenance software and computerized maintenance management systems (CMMS) resources are plentiful online.
In summary, there can be a significant economic value to preventive maintenance. By increasing the expected life of your more expensive equipment through routine preventive care and proactive maintenance, you also save money from not having a new capital expenditure during those same years.
Gilson Is Here to Help
Contact our testing experts for more information or to discuss your testing application.
Testing Resources
Standard Test Methods, Specifications, and Practices
Individual test methods and specifications referenced in our product descriptions, blog articles, and videos are available for review or purchase from the professional organizations noted.
- ASTM International (American Society for Testing and Materials)
- AASHTO (American Association of State Highway and Transportation Officials)
- ACI (American Concrete Institute)
- State DOTs (Departments of Transportation)
- ISO (International Organization for Standardization)
- BS (British Standards)
- EN (European Standards)