


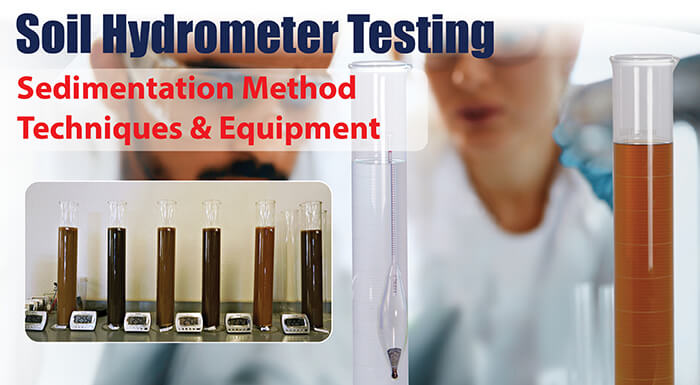
What is the Hydrometer Test of Soil?
Measuring the particle size distribution of fine-grained soils like clay and silt is best performed using the soil hydrometer test. This sedimentation method is familiar to all geotechnical laboratories.
The Hydrometer Analysis of Soil
The hydrometer analysis of soil, based on Stokes’ law, calculates the size of soil particles from the speed at which they settle out of suspension from a liquid. Results from the test show the grain size distribution for soils finer than the No. 200 (75µm) sieve. However, when combined with a sieve analysis, offer a complete gradation profile of soils containing coarser materials.
ASTM D7928:
The American Society for Testing and materials test method (ASTM) D7928 offers different options for sample preparation, hydrometer type, hydrometer offset, sample agitation, and more. Final calculations for particle size and distribution depend on which of the options were chosen and are not straightforward. We encourage the user to read and understand the entire published ASTM standard before running the test. This blog presents an overview of the essential steps, techniques, and lab testing equipment required. For this blog post, we will follow the ASTM D7928 standard test method. This standard replaces the older, withdrawn D422 method. AASHTO T 88 is a test method similar to D422 currently used by state transportation departments.
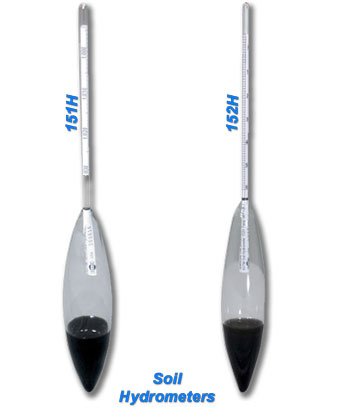
151H vs 152H Hydrometer
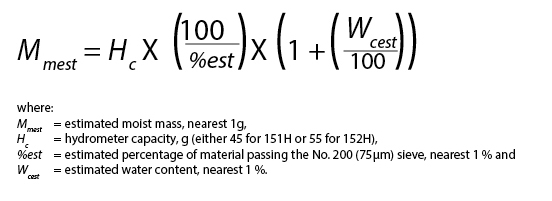
Periodic readings to determine the volume of suspended solids in the liquid are the critical measurements in this test. The hydrometer instrument is a buoyant glass tube calibrated to measure the relative density of liquids. There are two types of soil hydrometers for use in soil suspensions.
- The 151h hydrometer reads the specific gravity of the suspension and has a capacity of about 45g of dry soil in the 1,000ml liquid solution.
- The 152h hydrometer measures the grams per liter of the suspension with a capacity of up to 55g of dry soil in the 1,000ml liquid solution.
Sample Preparation
Hydrometer test specimens come from a variety of sources, large bulk samples from a field project, jar or tube samples from a soil test boring, or representative samples taken from other laboratory tests like hydraulic conductivity or moisture/density relationship (Proctor). Whenever possible, the moisture content in the bulk samples should be conserved through the preparation phase, since air-drying can alter the characteristics of clay particles. Air-dried soils require specific steps in sample preparation. Oven-dried soils cannot be tested using this method.
There are two general procedures detailed in the test method for sample preparation. Details of the preparation methods required vary based on the percentages of coarser particle sizes:
- Moist preparation maintains moisture in the soil throughout the preparation process to prevent changes to the properties of the clay particles and is the preferred method. Soil moisture in the specimen is maintained or increased as needed to work the material through a No. 10 (2.0mm) sieve with a rubber scraper. (Obviously, this sieve will not be acceptable for use in other grain-size tests after this application.)
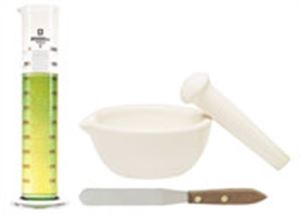
- Air-dried preparation is permitted only if the sample is received in an air-dry condition. A mortar and rubber-tipped pestle are used to break up dried clumps of soil to pass the No. 10 sieve.
In most cases, final specimens for the hydrometer test range between 50g and 60g of material finer than the No. 10 (2.00mm) sieve.
Putting the Soil in Suspension
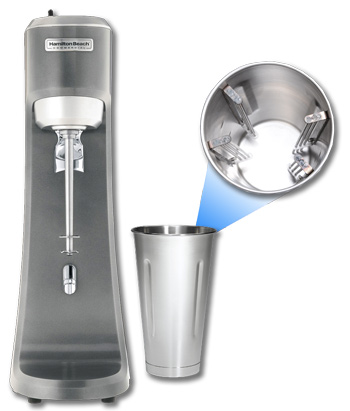
The test specimen is placed in a 250ml glass beaker and mixed with water and sodium hexametaphosphate, a dispersion agent that prevents fine particles in suspension from clumping together. This slurry is rinsed into a dispersion cup for agitation with the stirring apparatus for one minute. An alternate air-jet device is permitted for dispersion, but this apparatus is not preferred in the test method. After washing the second slurry into the glass sedimentation cylinder, the cylinder is filled to the calibrated 1,000ml mark with water.
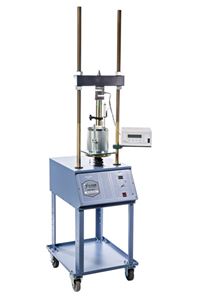
You can mix the solution in the sedimentation cylinder with a soil agitator, the preferred method, or the “tipping method” of manual inverted mixing. The cylinder is then covered and allowed to condition and equilibrate overnight in an area of stable ambient temperature or a constant temperature water bath.
Note: If performing the test in a temperature-controlled room at 22±5°C, (72±9°F), and the temperature of the suspension does not fluctuate more than 2°C (3.6°F) during the test, a constant temperature bath is not strictly required.
The Hydrometer Test Procedure
1. When starting the test, the suspension is mixed again using the agitator or tipping method, and a timer tracks elapsed time when mixing is complete.
2. The cylinder is placed back on the bench or in the constant temperature bath and checked to see if foam on top of the suspension will inhibit accurately reading the hydrometer.
A few drops of isopropyl alcohol will dissipate significant foam.
3. Take readings of the hydrometer in suspension at elapsed times of 1, 2, 4, 15, 30, 60, 240, and 1440 minutes. Additional readings are optional to define particle size distribution. It is possible to perform hydrometer readings on multiple samples at the correct elapsed times by using sequential or staggered mixing and start times.
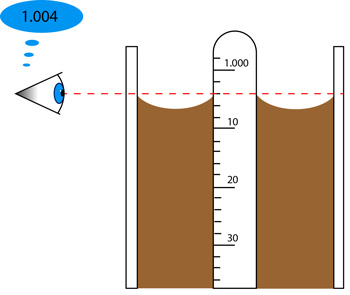
4. Fifteen to twenty seconds in advance, gently lower the hydrometer into the suspension to about the level of the anticipated reading and allow it to stabilize.
5. Read the top of the meniscus on the hydrometer to the nearest ¼ graduation and record it.
6. Extract the hydrometer in one steady motion, taking 5 to 10 seconds to remove it. If there is a drop of liquid remaining on the end of the bulb, touch it to the lip of the sedimentation cylinder and let it flow back into the suspension.
7. Immerse the hydrometer into a cylinder of clean water and give it a spinning motion.
8. Remove and dry before taking the next reading.
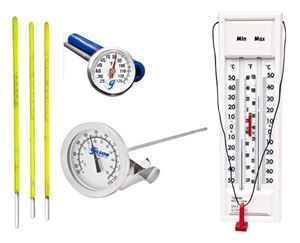
9. After each hydrometer reading, insert a thermometer without disturbing the suspension and record a temperature reading. The lab thermometer must be standardized and feature both readability and accuracy to ±0.5°C or better, at immersion depths from 25 to 80mm. Some digital laboratory thermometers meet these strict requirements and are generally safer and more convenient than mercury or liquid-in-glass models.
The temperature reading at the start of the test is valid for the initial readings up to 30 minutes. The temperature does not need to be measured more frequently than 30 minutes at the elapsed times of actual measurements.
10. Once the series of hydrometer readings are complete, transfer all of the suspension to an oven drying container.
11. After drying, the remaining solids are weighed to determine a total dry mass, then soaked in water, and washed over a No. 200 (75µm) sieve. If the dry mass of the specimen is already known, it can be washed directly over the No. 200 sieve and oven-dried. With either method, the dry weight of the material retained on the No. 200 sieve is determined and recorded.
The options selected earlier for sample preparation, hydrometer type and offset, and other factors change the way particle size and distribution test results are calculated. We recommend a thorough review of the ASTM standard before proceeding with the test.
We hope this blog post has provided some guidance for performing the soil hydrometer tests and selecting the right equipment to run it. See our Hydrometer Analysis of Soils Equipment for a complete list. Please contact our testing experts for help with your application.