


Spring is finally here! And you know what that means. Flowers are blooming and it’s time to tackle that Spring cleaning you’ve been putting off. Today we’ll share our knowledge of sieve care and cleaning with some do’s and don’ts.
To get optimal use out of your test sieves, you need to ensure you’re properly storing and cleaning them. Test sieves are precision instruments and if handled with care will last longer and retain their accuracy.
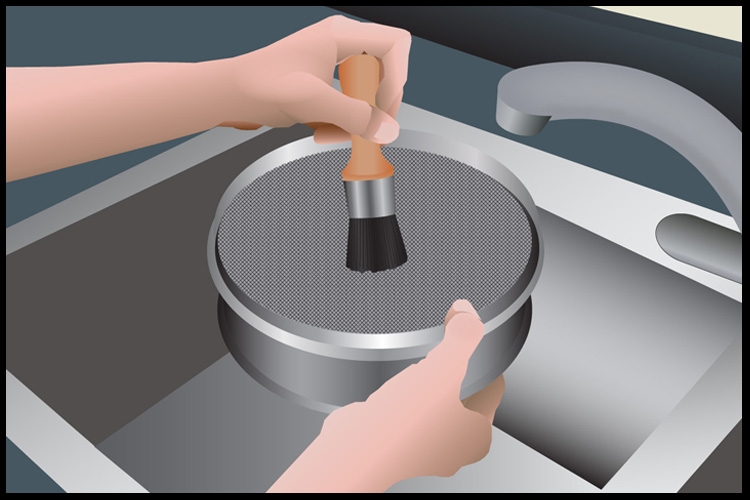
After each use, sieves should be carefully brushed to recover all the sample material and visually checked for near-size particles lodged in the mesh openings. If a significant number of openings are blinded (blocked), wash the sieve as noted below or immerse it in an ultrasonic cleaner.
Not all particles can be removed without damaging the mesh, but a significant percentage of blinded openings affects sieving accuracy and efficiency. Cleaning regularity varies with the frequency of use and type of material.
What do I need to know before cleaning my sieves?
- Clean new sieves using mild soap and warm water to remove grease and oil prior to conducting any tests.
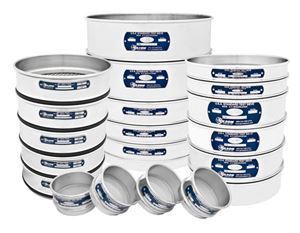
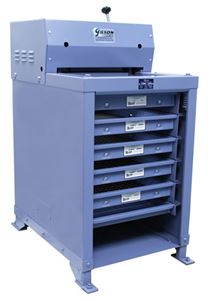
- Store test sieves in clean, dry conditions. A vertical rack with separate compartments prevents damage during storage and keeps sieves organized for easy access.
- Use caution if you’re using an oven to dry sieves. Excessive heat may soften the solder or epoxies used in assembly and cause the tensioned cloth to pull away from the frame, so it's recommended to let sieves air dry.
- Use sieve brushes for cleaning.
- Coarser sieves larger than #4, or 4.75 mm will require a coarse sieve cleaning brush for efficient cleaning.
- Sieves from #5 to #170 are best cleaned with a medium stiff bristle brush or a fine sieve cleaning brush.
- Finer mesh sieves from #200 to #270 should be cleaned with a soft bristle brush to avoid damaging the cloth.
- Be sure you use a light touch on finer mesh sizes so you don’t damage the cloth.
How to Clean a Sieve
Do:
- Brush the underside of the wire cloth in a circular motion, exerting light pressure to dislodge near-size particles.
- Tap the sieve frame with the wooden handle of the brush to dislodge particles, but be gentle so you don’t deform the frame.
- Wash the sieve in a warm soap and water solution to remove near-size particles lodged in the mesh. Brush the underside of the sieve carefully in the water. Consider using an ultrasonic cleaner to clean sieves with finer mesh. If using an ultrasonic cleaner, immerse the sieves in a water and detergent solution. The ultrasonic agitation will ease the removal of near-size particles.
- Periodically examine finer mesh sieves against a backlight or white background for damaged openings or perimeter separations. Use magnified viewing if needed.
What should I NOT do?
Don’t:
- Don't force embedded particles out of the openings using tools or compressed air.
- Don't use any solvents because they could potentially harm the protective coating of lacquer used on some sieve frames.
- Don't use acid solutions when cleaning sieves because they can reduce the diameter of the wire, enlarging the openings, and loosening the wire cloth weaving. This can negatively affect the accuracy of the sieve.
- Don't brush sieves finer than 45 µm (#325). Instead, you should immerse them in an ultrasonic bath to clean them.
- Don't continue to use a test sieve if the wire is worn, loose, or damaged. Examine your sieves frequently to make sure there are no defects in the cloth.
- Don't try to repair small holes or breaks. Replace the sieve if you see this type of damage.